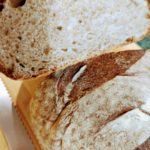
Starter Rehydration
Happy Saviours’ Day 2024, and Thank You for supporting our launch of our Bronwood Bakery Sourdough Starter Kits! Let’s get into it.
The Process
We started with a Healthy, Active Sourdough Starter that consisted of Muhammad Farms Premium Whole Wheat Flour, Organic Unbleached Unenriched All Purpose Flour, and Water. Our Sourdough Mother is 10 years old.
![]()
Next, we took our active starter and dehydrated it for 6-8 hours at 95° F, until completely dry. That dry starter was then pulsed in our blender to the powder form you have received.
Can You Make Bread With This Powder?
You Absolutely Can!
Here’s The Process
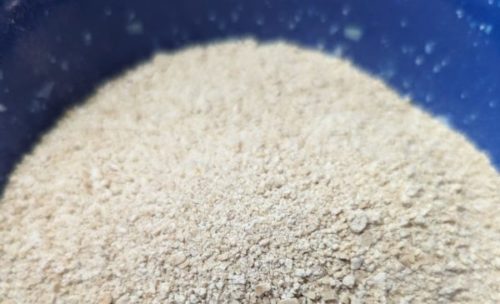
Supplies Needed
Let me tell you what I used and then you can choose for yourself, based on what you already have available in your home.
- 16 ounce (pint size, wide mouth if you have it) mason jar with a lid
- Flour
- Water
- Measuring Spoons: Tablespoon, 1/2 Tablespoon, Teaspoon
- Measuring Cups: 1/3 Cup, 1/4 Cup
- A Kitchen Scale
You will feed your Sourdough Starter Powder, listed amounts of Water and Flour over a 5 Day period. On Day 6, you will feed your Healthy, Active Starter enough Water and Flour to produce Two 2 pound loaves of Delicious and Nutritous Sourdough Bread. Happy making, Happy Baking! ![]()
Day 1
Your Bronwood Bakery Sourdough Starter Kit contains 1 Tablespoon of powder. You will only need 1/2 Tablespoon to begin your Sourdough Starter, so don’t use it all at once!
To your mason jar add 1/2 Tablespoon of Sourdough Starter.
Add 1 and 1/2 Tablespoon of water, mix (a fork will do), apply the lid (does not have to be tight), and let sit for approximately 30 minutes to give the powder a chance to begin rehydrating before you add your flour.
Water – We’re on well-water and have rehydrated our Sourdough Starter powder with well-water and bottled water, no problem. I would suggest using filtered or bottled water throughout the rehydration process if you are on city water or your water contains chlorine.
After the 30 minutes, add 1 Tablespoon of flour, mix well scraping down the sides as much as possible. Apply the lid. On measuring flour with your teaspoons and tablespoons you don’t have to scrape the tops, we didn’t. Just don’t heap your spoons when measuring. It’s not that serious, yet. ![]()
Flour – Muhammad Farms Flour (MFF) is a Premium Flour low in gluten, which is a good thing! The All Purpose we use is higher in gluten, better for making a stronger sourdough loaf. In order to build up the starter, we used All Purpose Flour (AP) during feedings Day 1 – Day 3. Day 4 & 5, we feed 50/50 with MFF and AP.
Once you mix your starter and put on the lid, sit it in a warm spot (the top of your fridge is good) until the next feeding.
Feeding – Once every 24 hours. Whatever time you feed, you will feed he next day at the same time. So pick a starting time that’s convenient for you.
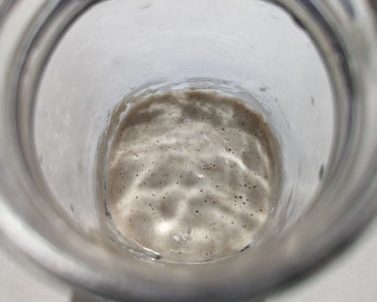
The picture below shows how the starter looked at the end of Day 1. Look at the activity already!
Day 2
Day 1 we added more water than flour, again, giving your starter powder a chance to rehydrate. As time goes, we will get closer to a 100% hydration (equal amounts of water and flour), to build up your starter.
Add 2 Teaspoons of water, mix and add 1 Tablespoon of flour. Mix well, put on the lid and return to your warm spot until the next feeding. Remember feeding time should be the same time every 24 hours.
When mixing, make sure you get all of your flour mixed in so that it is hydrated. Scrape down the sides as much as possible.
Note: 1 Teaspoon of water is approximately 5 grams – 1 Teaspoon of flour is a little over 3 grams
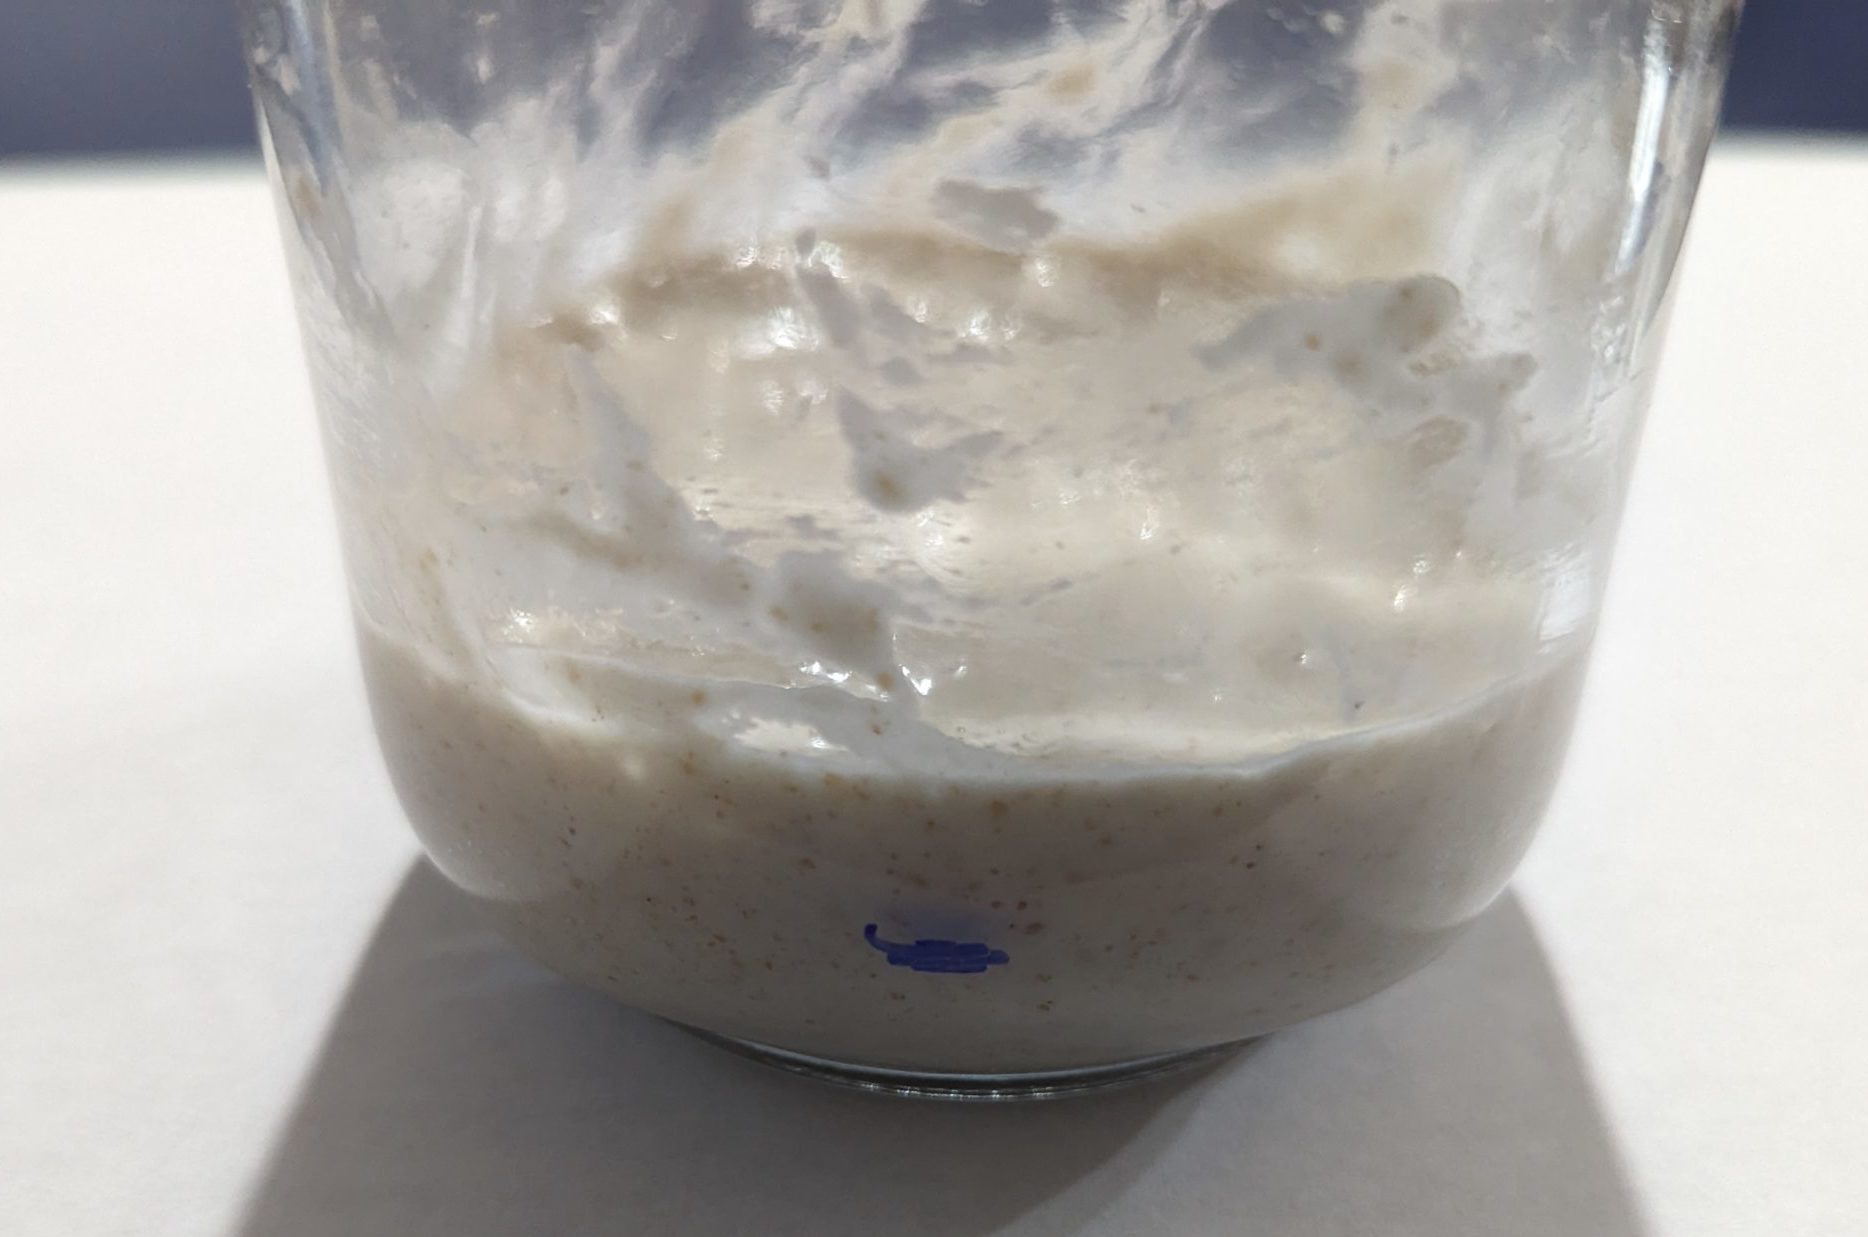
The picture below shows how the starter has doubled in size just 5 hours after feeding on Day 2. Amazing!
Day 3
What’s the saying? Wash, Rince, Repeat? Day 3 is a complete repeat of Day 2.
Add 2 Teaspoons of water, mix and add 1 Tablespoon of flour. Mix well, put on the lid and return to your warm spot until the next feeding.
Done!
Day 4
Now it starts to get exciting because we are getting closer to having a revived, active starter to begin making bread with this process. Yaay! ![]()
If you are already baking sourdough, thumbs up to you! ![]() If you are not, we pray this helps you get into it because it is a better bread for your digestive system and it is amazingly good bread. Soft and crunchy good!!! We like ours toasted!
If you are not, we pray this helps you get into it because it is a better bread for your digestive system and it is amazingly good bread. Soft and crunchy good!!! We like ours toasted!
Look at Day 4!
We mixed up some MFF and AP 50/50. We used Muhammad Farms “Pastry” Flour with our AP for those of you that use the Muhammad Farms “Sifted”. Use the Sifted in place of the Pastry if you like. You can add Sifted later or just use the Pastry all through. Up to you. You will still make good bread!
So Day 4, we begin reintroducing our MFF. Yes, we want that in there for sure!
Add to your starter 2 ounces of water and 2 ounces of flour. That is approximately 1/3 cup of flour and 1/4 cup of water.
Using a kitchen scale allows you to be right and exact. Not to mention the recipe we are going to share at the end requires a scale. Level up. Get a scale if you don’t already have one. Please!
Wow! This starter is on fire, ready for some bread making!
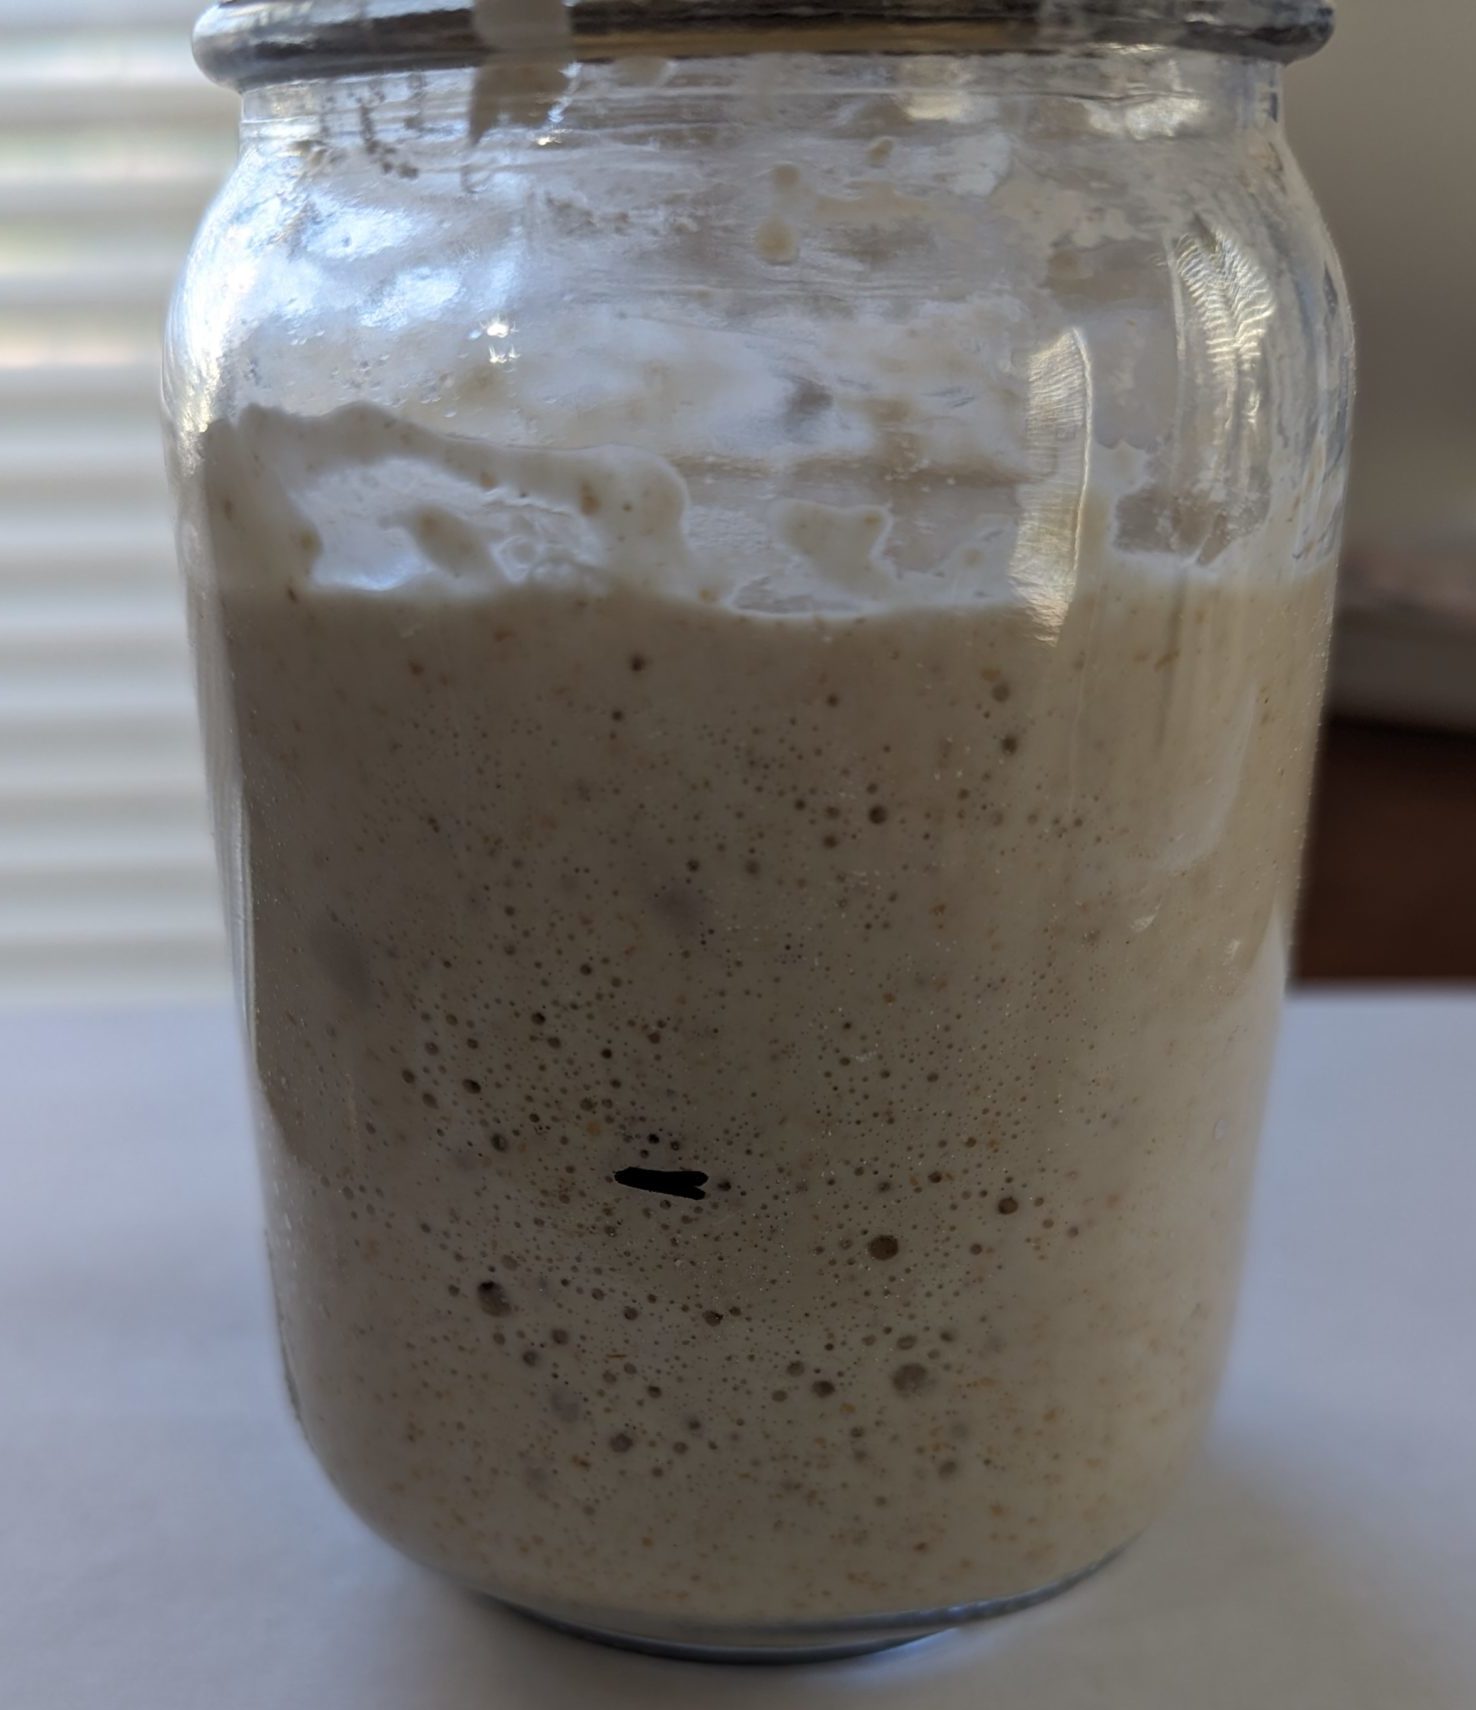
Day 5!
You made it! More importantly, your Starter made it!! Give yourself a big High 5 ![]() !
!
If for any reason you didn’t get to this point and you did “everything” you were supposed to do as stated, for real, give us an email before you try again with your remaining 1/2 Tablespoon of Starter Powder. We want you to Succeed!
It’s time to build a bigger house! The more food fed, the more your starter will expand, grow. You see how high it got on Day 4, with Day 5 feeding, it will be too much for the pint jar. Remember, throughout this process we have not discarded any of the contents of your starter.
Get a larger jar or a ceramic crock if you have one. We used a sturdy food storage container with a lid.
Scrape all of that good starter you have built up in the last 4 Days out of the jar into your new container. Since you are going to add water, put the amount of water you are going to add into your jar and swish around to get all of that good yeast out. You can use that as your water. Remember you are using non-chlorinated water. Use Filtered, Bottled, Well. Not city tap, unless you have been using it no problem making wonderful bread! Do what you Do!
To your newly housed Starter add 4 ounces of water (approximately 1/2 cup). Use your water mixture from your jar. If it’s not 4 ounces just add some water to make 4 ounces. Mix well and add your 4 ounces of flour (approximately 1 cup). Mix well. Cover and return to that warm spot that has supported your Starter over the last few days.
On Day 6 when you feed, you will feed for the purpose of making bread!
Welcome to Day 6. Let us make Bread!
We have to introduce an important word in the world of sourdough, because it is part of the process in making sourdough starter. The good news is, there are many ways to use your “discarded” starter!
discard – get rid of (someone or something) as no longer useful or desirable.
I think the word discard should be changed to something more suitable like, your set aside, your plan b, your starter 2.0! The point is, you don’t have to throw it away! It still has use. Repurpose it.
- Make Flat Bread. We’ve used this recipe and then baked them to make sure they were thoroughly done. You can cook them and store them in the fridge and use later.
- Make Waffles. We’ve done that too! Make and store in the freezer. Pop in your toaster when ready. There are plenty of recipes on line to choose from.
- Make Sourdough Crackers – We make them!

- Add to your baked goods – if you are already baking soft breads, you can add some sourdough starter in. Add to cakes, etc. Be Creative!
- Make a Dry Sourdough Starter that can be kept in the fridge until ready to use. No feeding required!
 We just discovered this and already have two small containers in our fridge and yes, we have used it to make bread! Check out The Elliott Homestead.
Before feeding your Starter, decide on how many loaves you want to make. If you are not a novice, make as many loaves as you have time for. If you are new, I would suggest starting with 1 loaf so that you can get used to the process as well as the recipe. KEEP THIS IN MIND. You can repeat your Day 5 feeding if you like on Day 6. Discard 1/2 of your Starter and feed as you did on Day 5.
Make your Bread on Day 7. No problem.
For one loaf of bread – take 45 grams of your finished starter.
Add 195 grams of Water, mix. Add 195 grams of Flour, mix. Set your starter in a warm spot for 5-10 hours and keep an eye on it. The growth of your starter will depend on the warmth of your kitchen. Put a mark, tape, rubberband, something on the container after mixing so that you will know when your starter has doubled in size. Do a Float Test to make sure your starter is ready to begin making the dough for your loaf.
It Floats!!! Let’s make Bread.
A Sourdough Bread Recipe
We used this recipe to make the bread pictured from our rehydrated starter powder.Use the videos to give you a better understanding and visual of the written recipe we provided from “Baking By Hand”. Watch, Learn, and Develop Your Own Techniques. ![]()
Sourdough Video One
Sourdough Video Two
Sourdough Video Three
- 333 grams sourdough starter
- 180 grams water 90° F
- 1 ounce extra-virgin olive oil
- 20 grams honey
- 167 grams of Muhammad Farms Whole Wheat flour
- 168 grams of organic unbleached all-purpose flour
- 10 grams of sea salt
- 1.5 grams instant yeast (optional)
In a large bowl, combine the starter, water, olive oil and honey, and remember to keep that water warm to give your wild yeast a comfortable atmosphere to grow. Swish the liquid ingredients around a bit to break up the honey. Then, dump your flour on top of the liquid ingredients, and mix it by hand for about 30 seconds, until it comes together in a shaggy mass. Do’t forget to scrape the bottom and sides of the bowl regularly; you want all of that flour hydrated and don’t want to see any dry spots. Set aside in a warm place, at least 80° F, for 30 minutes.
Sprinkle the salt and yeast on top of the dough and grab a four-finger pinch of the dough and pull. It should stretch out like chinky taffy rather than just teaf off. Incorporate the salt and yeast into the dough, continuously pushing the sides of the dough into the middle while turning the bowl. After a minute of this, the dough should be pulling away from the sides of the bowl and developing a bit of a sheen, and you shoildn’t feel any crunchy salt crystals. Cover the bowl, and put in in your warm place for 30 minutes.
Turn your dough onto a lightly floured surface and give it your four-fold. It should make a tight little package and after every fold the dough’s volume should increase It should consistently feel warm and active. Roll the dougj over and place it, seam side down, back into the bowl. Repeat every 30 minutes (you’ll fold the dough three times in total) until the dough is strong but puffy, warm to the touch and holds a fingerprint when pressed into the surface. Theo whole process will take about 2 hours.
Once our dough is ready, turn it out onto your floured work surface. This recipe will make 1 two pound loaf. Gently shape the dough into a round, being careful not to compress the dough too much, and place seam side down on your work surface. Cover and rest for 20 minutes to build a bit more strength into the loaf before final shaping.
Next, lightly oil a 5-inch x 9-inch bread pan, or you can bake in your dutch oven, or on a baking stone. Take your rested round and gently but firmly shape it into a stubby cylinder or leave it round, leaving the seam side down on the table. Place your shaped loaf seam side down in your loaf pan, or seam side up in a banneton, (proofing basket), or seam side up in a bowl covered with a lint-free towel dusted with flour. Cover your loaf with a damp cloth or plastic wrap and place in your trusty warm spot.
While your dough is proofing, prepare your baking surface. If using a baking stone place your baking stone on the lowest rack in your oven. Put a heat-proof pan on the highest rack. The heat-proof container will be used to hold ice cubes during the baking process creating steam. If you are using a dutch oven you will not need the heat-proof pan or ice cubes. Put your dutch oven in the oven with the lid on and preheat the oven to 450° F.
Check in on your bread periodically; if the surface feels dried out, spray it with a bit of water to allow for maximum expansion. If it feels cold, make it warmer. This may take up to 2 hours, depending on the conditions of your kitchen. (If your kitchen is warmer, the proofing time will be shorter.) The loaf is ready to go in when it feels very airy and holds a fingerprint when pressed into the surface.
Baking on a stone: When you’re ready to bake, score the face of the loaf with four or five diagonal slashes. This realases tension in two directions, so when the oven spring occurs, you get a nice, even expansion of the surface of the loaf. Now, grab three ice cubes from the freezer. Being careful to not keep the oven door open too long and let the heat out, open the oven, slide your loaf onto the stone. Put the three ice cubes into your heat-proof pan and close the door. After 5 minutes, quickly open the door and spray the interior of the oven with water. Reduce heat to 425° and continue baking until the loaf is evenly browned, about 20 minutes. Rotate and bake an additional 10 minutes. When your loaf is done it will have a nice hollow thump when you tap it on the bottom. Immediately, but carefully, remove the loaf from the pan and place it on a cooling rack.
Baking in a dutch oven: Score your loaf as mentioned before. Pull your preheated dutch oven out and carefully, put your loaf in, seam side down to bake. Replace the lid and put the whole assembly in the middle of your oven. Bake covered 20 minutes. Remove the lid and bake another 10-15 minutes. Add more time if necessary to get a golden brown crust.
Let your loaf cool for at least 3 hours before slicing.
Happy Baking!
Call Us
(762) 261-2260
Email Us
majeedah@bronwoodbakery.com

